Saturday, April 21, 2007

Photographic backup strategy

My current backup strategy is very simple: I have 2 Seagate drives, I copy using SynToy files from one drive to the other one and I use one drive for working, the other one for backup. However reading the The DAM book, I can see that my current backup strategy has flaws.

Firstly the 2 drives are in the same location therefore are exposed to the same risk (theft, accident). Secondly drive fails, although I have 2 copies of my files, it is not a long term storage, eventually both drive will fail. Lastly the syncing process is manual, if I don't run it I am seriously exposed.

For the next iteration of my backup strategy, I will likely reorganize my files on the drive so that I can use longer life storage like DVDs more readily. I will put together the "negative" files (being literally raw files or simply jpeg), the working files together and the finished files together.

This means that I can then backup on DVD (read-only that is) the negatives as well as the finished files and leave the working one one the harddrives. This also means I could free space from the harddrives as when needed (I am already close to fill up the smaller drive).

This is not perfect but I am getting there. What are you doing?

Photo: White daffodil


Title:
White daffodil

Location: London Green park

Date: 22th May 2006

Comment: busy day at Green park but a large aperture got rid of the people

Tuesday, April 10, 2007

Defect in the Canon EOS 20D battery pack

The whole process took about 10 working days no more.

My Canon EOS 20D is one of the early model and used to suffer from the well documented (see canon website) battery pack problem where after about 150 to 200 pictures the battery charge goes down to half and die pretty soon after (that is with 2 batteries by the way). It is due to a defective part in the battery pack fixed at no charge by Canon UK. I can now take more than 200 pictures on one charge.

Except that it is very hard to get through them (have to go through their lengthy automated answering system and then customer care), the service was very good and the whole process took about 10 working days no more. I even got a warranty for the work they have done.

Great service from Canon UK.

Thanks a lot guys.

Have you seen the light yet?

In case you are struggling to light with flash I highly recommend reading the Strobist blog. It contains lots of useful stuff (techniques, books, equipments, ...) for flash photography using small strobes (read small hot shoe flash). Also check the matching Strobist Flickr group where readers of Strobist go and discuss their favorite subject: flash photography.

Friday, April 06, 2007

Upgrade mostly done, feedback welcome!

That is it. I worked hard on it but it looks even better than before.

The layout is wider, there is lots of cool widgets like videos, news, pictures, .... I have dropped the AdSense for now. Not that I was making much money anyway. And I even now have a favicon.

I must give Hans from Beautiful Beta and Annie from Blog University a big thanks for their great hacks. Without it my blog would just be like any other one.

So here we go it is your chance to give me your views on my little new upgraded photography blog.

Saturday, March 24, 2007

Newly upgraded blog

I finally upgraded to the new Blogger today. It was not too hard at all but I have lost quite a few of the customizations I have done manually on the previous version. On the good side, it backs up the old version automatically (see settings edit html view classic template).

I have found some fun widget to display my other blogs: SpringWidgets thanks to Jesse I got that to work.


All in all it is easier to customize than the previous version for simple things (drag and drop user interface). I think it may be harder to make complex adjustment although I have not tried yet.

Anyway I have done a bit of work to get it back to something close what it was before (about 2 hours). There is still a few things to do (like AdSense, social bookmark, map, ...). I have found some fun widget to display my other blogs: SpringWidgets thanks to Jesse I got that to work, pretty cute, see below in the right column.

It is worth noting that my feed is not working in FeedBurner any more. I am still waiting to see the contents displayed in FeedBurner since I have upgraded to the new template. However if I look at the feed direct in Google Reader I can see the new post (this one) while with the FeedBurner address I don't. A bit strange. I finally found that it was due the Calendar function of FeedBurner which solely works with Calendar blog.


I also found a nice blog with steps to install the social bookmarking button see below and check out Beautiful Beta.


Tuesday, March 13, 2007

I got published in iVillage

Click on the link below :

www.ivillage.co.uk/food/picturegallery/promos/1,,,00.html

And follow " Eggstreme Easter eggs"

In case you can't be bothered it looks like this


http://www.chinasecret.co.uk/

Friday, January 12, 2007

Are you on Utata yet?

Hi Reader,


I decided to join the Utata group on Flickr. Let's me explain what it is. You'll understand.


First the nerdie bit: Utata is a front end to Flickr managed by a bunch of lucky people who have got way to much free time on their own (I don't mean that in a bad way, I am just anvious).

Utata gives you the possibility to create your very own member page where you can expose your favorite pictures. Since they arguably have around 30,000 visitors a day it is worth spending a few minutes plus you get to hang around with the cool kids.

There are fun projects to keep you busy after work. Also they have articles to read during the cold and dark nights of winter. Utata also highlights a photo on their spotlight giving the lucky owner some more of the these juicy internet clicks. There is also the bulletin board where you can post your news: free ad space cool (like your first sale or publication).

Also you will find lots in Utata technical resources on various subjects such as exposure and flash. They of course have a great photo pool where you can add your best photos and expect some friendly feedback. Finally you can check the Daily Ink for the latest news from Utata.

It is all rather unformal and relax giving the impression to be in a lounge or a bar with a bunch of friends. I am there around 6-7 pm (sometimes I drop by for my lunch break).

Have a look it is worth it.

See you at the bar,
Marc.

Saturday, December 30, 2006

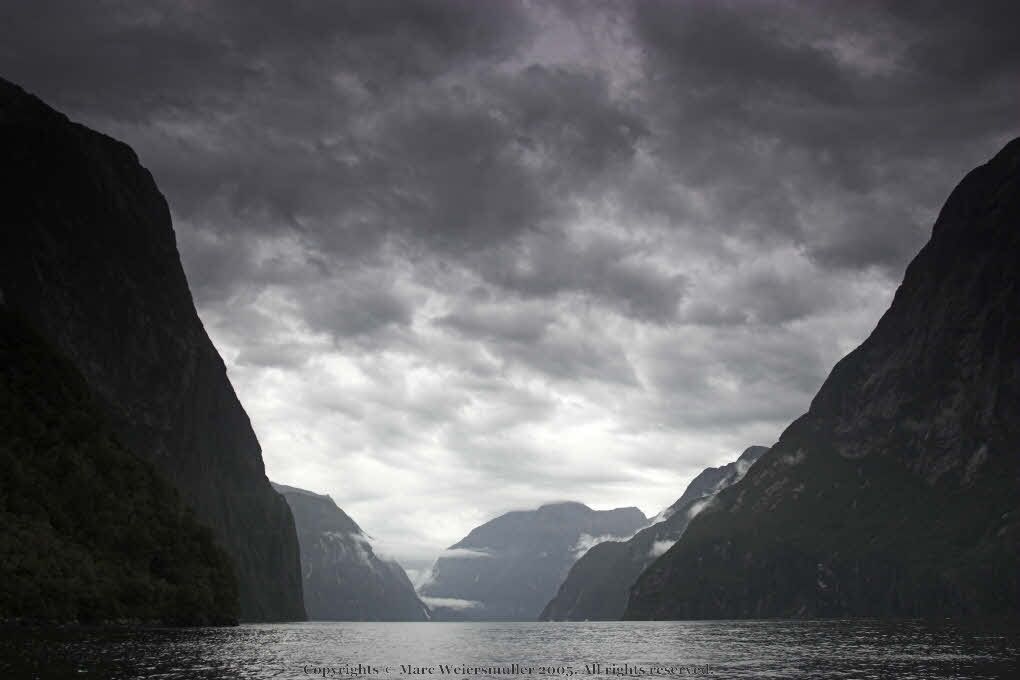
Photo: Milford Sound


Title: Milford Sound

Location: It was taken from our boat looking back into the fjord

Date: The 23th February 2005

Comment: It did not look very inviting at all


What is your favorite Flickr toy?

I must say the Flickr gadgets is half the reason I joined Flickr.

I love the Flickr badges. It is such an easy way to decorate your websites or blogs just look at the right column of this blog (for instruction on how to create a badge see).

I also found recently a great Flickr toys page and god they have a lot of toys on this page. Try the ID card, the Magazine or the Calendar they are really neat.

Do you know of other resources? What is your favorite Flickr toy?

That is official I joined Flickr

You've got to admit Flickr is fun.


I upgraded to a Pro account (i.e. I paid instead of skimming) just because it is really fun (despite being a bit slow).

The group stuff is really good. There is lots of weird groups to share your weird interests with like: Vanishing points and Minimalism.

Also you can create lots of gadgets to display your pictures like for instance the badges on this blog (see right column) or the ID card and magazine cover.


You can post comments and notes which appear on the pictures (neat).

You can organize your pictures (with tags and sets).

You can watch them using slideshows.

Of course you can share your pictures with the rest of the world or just your friends and family (i.e. restrict access to it).


Finally you can watch all the others pics.


Simple but fun!


Great deal on Photographic equipment

Hi Guys,


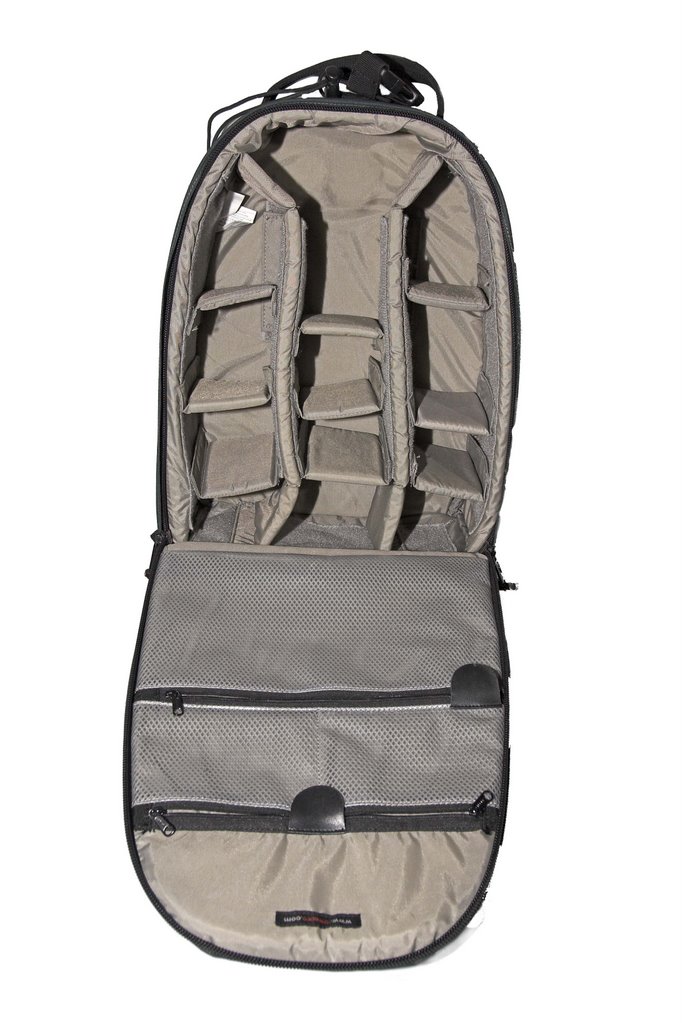
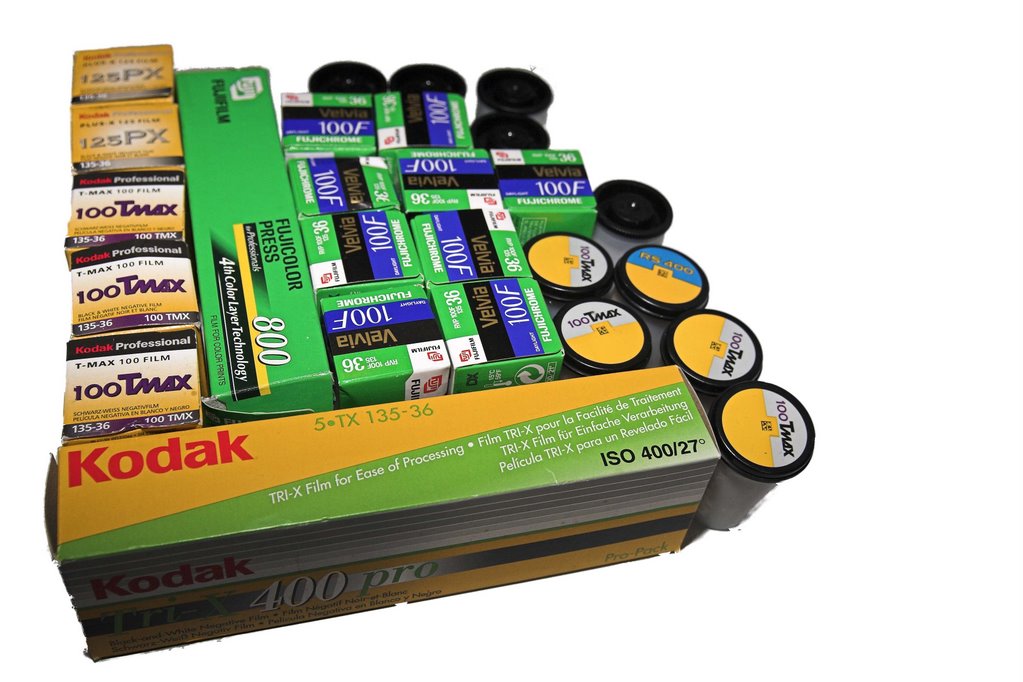
I am selling some of my film gear on Ebay:


Don't miss it. See you on Ebay.
Marc.

Wednesday, December 20, 2006

Extreme (Photoshop) Makeover

Following on to my post about a photographer getting caught changing the true reality of a picture in order to make it more "saleable" (to the expense of the thruth), I bring you Photoshop Extreme Makeover.

It is a pretty short video of people images before and after being retouched in PhotoShop.

The skills of these guys are amazing, my little tunings of my photos look quite futile compared to that.

Can I have one for my bad mornings too?

Tuesday, December 05, 2006

Photo: Sunset on Mount Cook


Title: Sunset on Mount Cook

Location: I believe it was taken from our camping the "Glentanner" on the road going to Mount Cook

Date: The 18th February 2005 around 9 pm

Comment: It was bitterly cold however really worth it

Monday, November 27, 2006

Digital Photographic Workflow

(Version 1.1)

Tools:
RawShooter Essential 2006
PhotoShop CS
IMatch 3.5.0.22

Prerequisites:
You have setup a set of workflow categories that resembles the followings:
1. Review and Rename
2. Document
3. Categorize
4. Rate and Label
5. Edit
6. Finished

Note that I also gave step zero called “0 - Parked” which related to pictures I don’t intend to deal with or I am done with. The originals become “0 – Parked” while the newly created and finished copy becomes “6 – Finished”.

The reason for that is twofold:

  • One to keep original untouched,
  • Two avoid polluting my workflow.
Workflow Overview:
First import all new pictures (raw or jpeg) in IMatch, then categorize and rate them. The default settings set by IMatch import tool be “1 - Review and Rename”.
After that open the pictures in RawShooter one by one starting from the best ones. Process a bunch from one directory then open them in PhotoShop. Finally, import finished pictures (tiff) in IMatch and propagate categories.

Detailed Workflow
Importing new pictures
First import all new pictures in IMatch.

If using an external drive, you can map your drive directly to your pc and add all the contents of the drive at once avoiding possible mistakes going directory per directory. Then inside IMatch move the pictures to their final location. This will make sure you don’t loose some while copying them to their final location (you can check in IMatch to see whether your external drive is empty).

If connecting your camera directly to your computer, you will have to use their proprietary technology to load the pictures on your drive. Then after that you will import the pictures in IMatch directory by directory. Be careful not to miss some out.

Rate pictures
Start by rating pictures before categorizing so that you delete immediately the rubbish pictures and don’t waste time categorizing them (like out of focus pictures, badly frames, …). A rating of one or more will guaranty that they will not be deleted when space become an issue. Pictures with no star will possibly be deleted at the next clean up stage. I suggest using the Slide Show tool to rate the pictures.

Document pictures
Document the pictures now. Give them a name, a location, set the photographer and add them to some categories. Make sure to sort by date so that you can quickly set the location and other categories (pictures taken at a closely related time are likely to have the same categories).

Edit pictures
Start by ordering pictures by dates. Then you look at an entire set and pick the best one(s). Open this one in RawShooter.

RawShooter
1. Start by checking out the White Balance. When using the Pick White Balance feature, your picture may look a bit off (a bit too cold), that is when you want to fine tune with Colour Temperature (possibly Tint too if you still have a colour cast). This step will fix most problems like colour cast and set the pictures exposition to something near to useable.

2. When that is done look specifically at exposition and contrast playing with (most times in that order): Exposition Composition, Shadow / Highlight Contrast, Filling Light. That should lift the picture up quite a bit. Sometimes you will have to come back between these settings until the right balanced is found. You can use the Appearance preset to go faster. You then will have to fine tune it with the Exposition Composition.

3. Then have a brief look at the Saturation to bump up the colour. I personally never use Hue.

4. Now is time to zoom at 200% to 300% and look at sharpness. You can use the Sharpness setting to fix little focusing problem. Look also at increasing contrast (see step 2), that should help as well. But frankly don’t expect miracle a out of focus pictures (unless intended to be so) is good for the bin.

5. Finally, look at the noise level. You may have to zoom even more to see the noise at low ISO. Small adjustment should be sufficient. Noise Reduction will reduce general noise in the Sky or other evenly light space, Colour Noise Suppression will get rid of the strange clutter of coloured and often blurred dots. Finally Hot Pixel / Pattern Noise Reduction will get rid of the little dark spot.

6. Get RawShooter to produce a tiff file, you can also ask it to open this picture in PhotoShop when ready.

PhotoShop
With the newly created image from RawShooter:

1. Open the Levels, move the white and black point to the edge of the graph. That will boost the picture by making the blacks really black and the whites really white. You can also adjust the grey point. Don’t underestimate Levels, it really is worth it. However using Curves is better as it gives more control on the effect.

2. Open the Curves, select a ‘S’ curve to increase contrast or an inverted ‘S’ curve lower the contrast (far less common option). The wider the curve the higher the increase in contrast.

3. Finally, zoom and check out the pictures for dust or visible noise. Remove it using the Ealing Brush or Clone Tool. The Ealing Brush reproduces better random patterns.


Import new pictures
Back in IMatch import the newly created pictures. To make that easy you should process a bunch of pictures at a time (for example from the same directory) because the import from IMatch works per directory and it will make it easier for you to push the meta data from the originals to the new pictures.

Make sure to change the type status from “Raw” to “Finished” so that you can use Ferdinand’s script (by default it will ignore the “Raw” pictures for safety).

Note that you can use Ferdinand script to synchronise the new pictures data fields with the old one. Finally for Ferdinand’s script to work you need to select the source pictures. To do that go and order the bookmarked files using “Smart File Name” which will arrange the source with the matching new picture together. Then you should be able to see clearly the new and original pictures.

Sunday, August 20, 2006

My evaluation of Flickr is starting well

Check out my Flickr bage on the right side bar: isn't that cute? More to see on my Flicker page.

I am already thinking redirecting my weiersmuller.org domain directly to Flicker instead of running my own little JavaScript gallery.


For my evaluation, I want to look at SmugSmug too. Although Flickr is nice and neat, I want to have some control over the look eventually. SmugSmug gives you more control but at a price.

Possibly Coppermine. I have looked at Gallery2 about a year ago. Not too bad but like Coppermine you need a PHP web account and some technical knowhow.

I also been told about new products that came out recently: Exposuremanager and Zenfolio.

Finally, I am wondering whether I could built one from scratch just for the fun of it! I found out about that cool web framework Ruby on Rails and I am dying to get my hands dirty again.

Lots to do, little time!

Saturday, August 19, 2006

Which is the best Photo Gallery?

Hi Guys and Ladies,

I have built my first Gallery using a script running out of my DAM software (IMatch). You can see the result at weiersmuller.org.

However I want to create something better. I am today trying to import some pictures on Flicker. It looks nice and easy to use and has lot of traffic. But before that I need to rename properly my pics, export ITPC fields and then I will load these to Flicker, long day today!

Anyway I can see that I am not the only one to start Galleries. For instance Mark is going for Gallery2 see.

So, I am asking to the people who went through that process before, what would you recommend and why?

My main requirements would be:

- to share my pics with family and friends, online but also on CDs,

- later sale a few pics to pay for the hardware,


My secondary requirements would be:

- access control,

- integration to paypal,

- integration to online printers,

- integration to IMatch,

- cool presentation,


I see that there are quite a few vays to go about creating photo galleries:

- specific software like IMatch Photo Gallery,

- Online service like smugsmug and flicker,

- open source gallery like the php Gallery2,

- custom made ones (I am looking at Ruby on Rails for that)


What did you use? And most importantly why?


Tuesday, August 15, 2006

Photo-journalist caught cheating!

My wife sent me that great article Ease of Alteration Creates Woes for Picture Editors from the New York Times.

It describes how a Reuter photo-journalist has merged two pictures into one changing totally the perceived meaning of the moment. I suppose the journalist was hoping that creating a new more sensational picture he will be able to sell it more or for more – instead he got sacked!

In the past many journalists got caught cheating, for instance by making up statement from sources that did not exist. Today these people will get fired and sued. However a new breed of cheats came out with the advent of digital photography. As mentioned by the New York Times finding them out will be very difficult.

This really begs the question:

Will digital photography destroy photo-journalism?


Monday, August 14, 2006

Adobe LightRoom beta 3 installed, working on the review

I have de-installed beta 1 and then reinstalled at the exact same place beta 3. All seems ok; my database of images is still there. It also maintained my layout mode (full screen : sweet).

I am now actively working on the review, it should be a week or 2 at most.

Sunday, August 13, 2006

Adobe LightRoom beta 3 is out, new post coming!

Who wants to find out more about Adobe LightRoom?

Do you want prefer a plain review of what the tool is about?

Or do you want feedback on the quality of the beta?

Maybe both?

Please post a comment to let me know what you like to see in this forthcoming post!