Photo: Milford Sound
Title: Milford Sound
Location: It was taken from our boat looking back into the fjord
Date: The 23th February 2005
Comment: It did not look very inviting at all
Technorati Tags:
Bookmark this post:


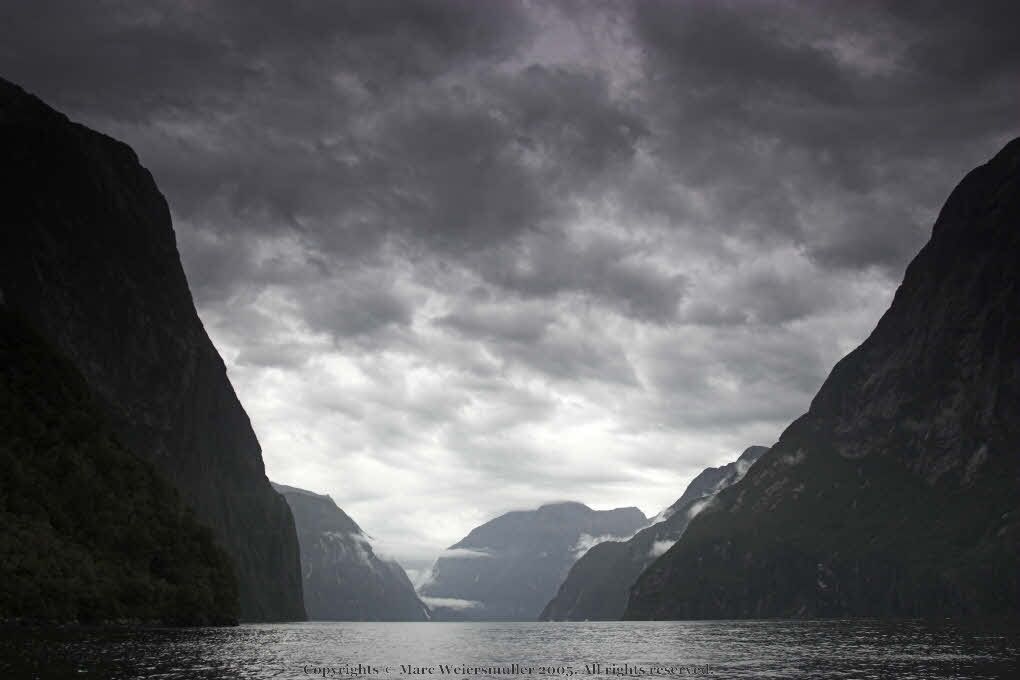
Title: Milford Sound
Location: It was taken from our boat looking back into the fjord
Date: The 23th February 2005
Comment: It did not look very inviting at all
Bookmark this post:
I must say the Flickr gadgets is half the reason I joined Flickr.
I love the Flickr badges. It is such an easy way to decorate your websites or blogs just look at the right column of this blog (for instruction on how to create a badge see).
I also found recently a great Flickr toys page and god they have a lot of toys on this page. Try the ID card, the Magazine or the Calendar they are really neat.
Do you know of other resources? What is your favorite Flickr toy?
Bookmark this post:
You've got to admit Flickr is fun.
I upgraded to a Pro account (i.e. I paid instead of skimming) just because it is really fun (despite being a bit slow).
The group stuff is really good. There is lots of weird groups to share your weird interests with like: Vanishing points and Minimalism.
Also you can create lots of gadgets to display your pictures like for instance the badges on this blog (see right column) or the ID card and magazine cover.
You can post comments and notes which appear on the pictures (neat).
You can organize your pictures (with tags and sets).
You can watch them using slideshows.
Of course you can share your pictures with the rest of the world or just your friends and family (i.e. restrict access to it).
Finally you can watch all the others pics.
Simple but fun!
Bookmark this post:
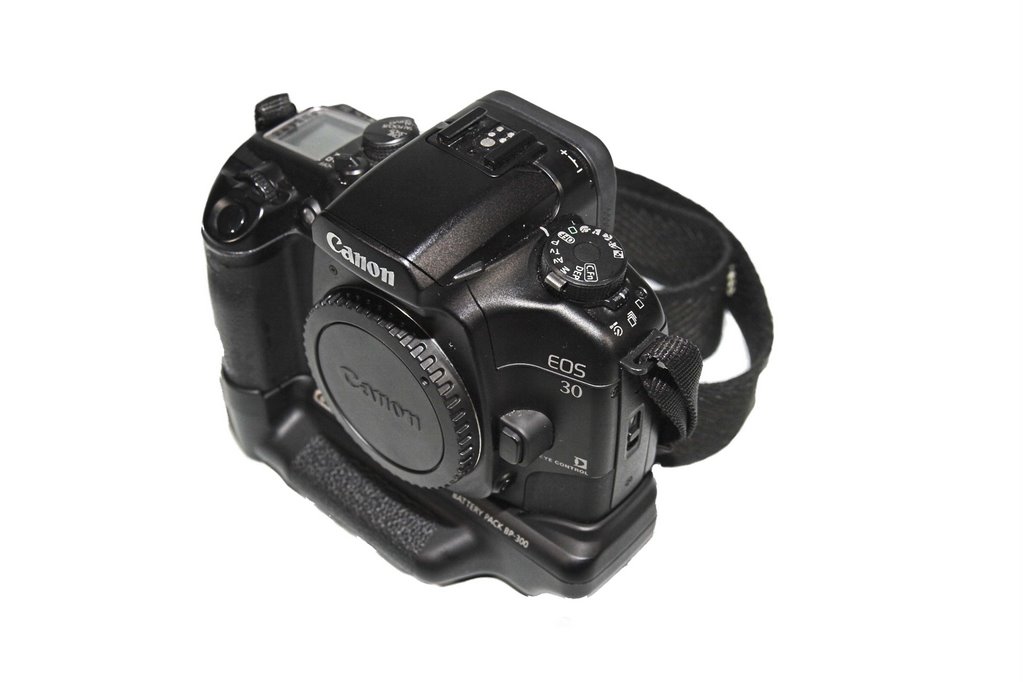
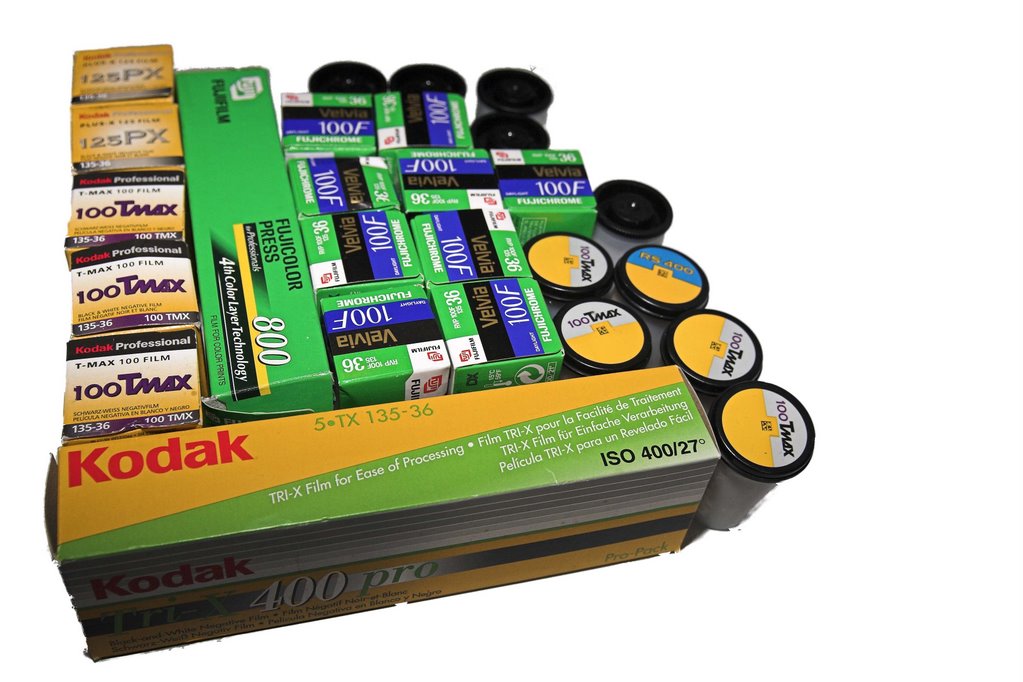
Hi Guys,
I am selling some of my film gear on Ebay:
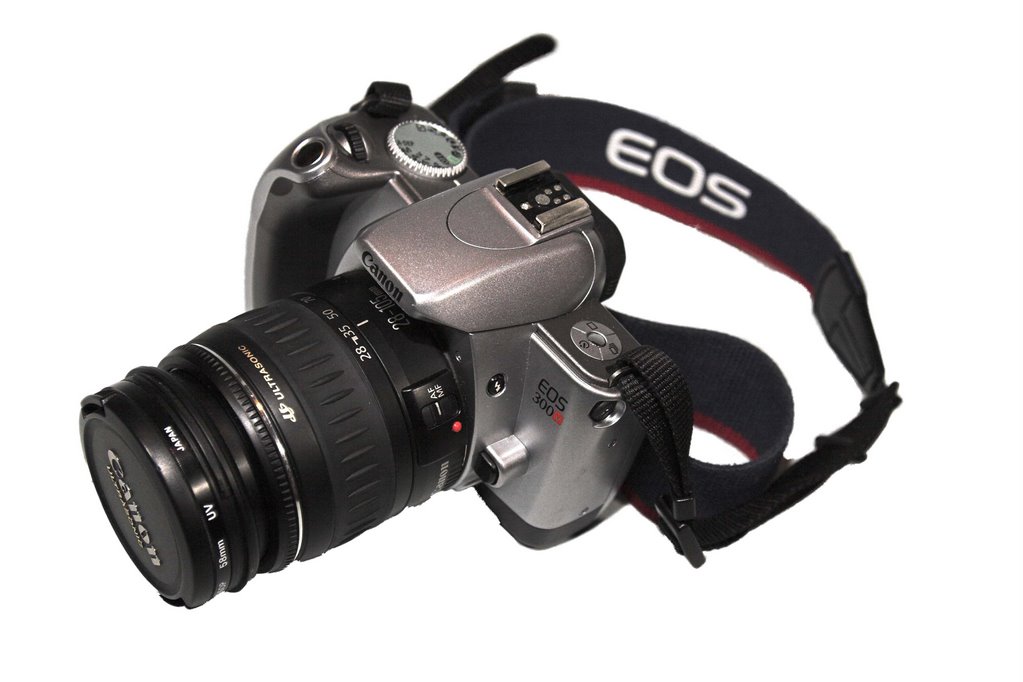
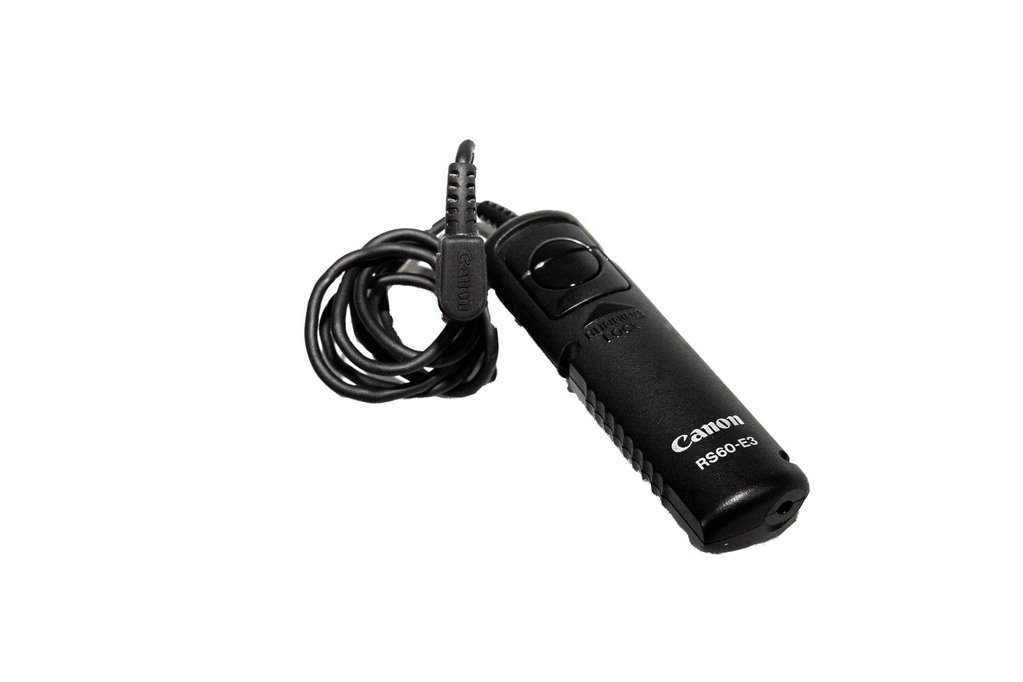
Bookmark this post:
Following on to my post about a photographer getting caught changing the true reality of a picture in order to make it more "saleable" (to the expense of the thruth), I bring you Photoshop Extreme Makeover.
It is a pretty short video of people images before and after being retouched in PhotoShop.
The skills of these guys are amazing, my little tunings of my photos look quite futile compared to that.
Can I have one for my bad mornings too?
Bookmark this post:

Title: Sunset on Mount Cook
Location: I believe it was taken from our camping the "Glentanner" on the road going to Mount Cook
Date: The 18th February 2005 around 9 pm
Comment: It was bitterly cold however really worth it
Bookmark this post:
(Version 1.1)
Tools:
RawShooter Essential 2006
PhotoShop CS
IMatch 3.5.0.22
Prerequisites:
You have setup a set of workflow categories that resembles the followings:
1. Review and Rename
2. Document
3. Categorize
4. Rate and Label
5. Edit
6. Finished
Note that I also gave step zero called “0 - Parked” which related to pictures I don’t intend to deal with or I am done with. The originals become “0 – Parked” while the newly created and finished copy becomes “6 – Finished”.
The reason for that is twofold:
Bookmark this post:
Check out my Flickr bage on the right side bar: isn't that cute? More to see on my Flicker page.
I am already thinking redirecting my weiersmuller.org domain directly to Flicker instead of running my own little JavaScript gallery.
For my evaluation, I want to look at SmugSmug too. Although Flickr is nice and neat, I want to have some control over the look eventually. SmugSmug gives you more control but at a price.
Possibly Coppermine. I have looked at Gallery2 about a year ago. Not too bad but like Coppermine you need a PHP web account and some technical knowhow.
I also been told about new products that came out recently: Exposuremanager and Zenfolio.
Finally, I am wondering whether I could built one from scratch just for the fun of it! I found out about that cool web framework Ruby on Rails and I am dying to get my hands dirty again.
Lots to do, little time!
Bookmark this post:
Hi Guys and Ladies,
I have built my first Gallery using a script running out of my DAM software (IMatch). You can see the result at weiersmuller.org.
However I want to create something better. I am today trying to import some pictures on Flicker. It looks nice and easy to use and has lot of traffic. But before that I need to rename properly my pics, export ITPC fields and then I will load these to Flicker, long day today!
Anyway I can see that I am not the only one to start Galleries. For instance Mark is going for Gallery2 see.
So, I am asking to the people who went through that process before, what would you recommend and why?
My main requirements would be:
- to share my pics with family and friends, online but also on CDs,
- later sale a few pics to pay for the hardware,
My secondary requirements would be:
- access control,
- integration to paypal,
- integration to online printers,
- integration to IMatch,
- cool presentation,
I see that there are quite a few vays to go about creating photo galleries:
- specific software like IMatch Photo Gallery,
- Online service like smugsmug and flicker,
- open source gallery like the php Gallery2,
- custom made ones (I am looking at Ruby on Rails for that)
What did you use? And most importantly why?
Bookmark this post:
My wife sent me that great article Ease of Alteration Creates Woes for Picture Editors from the New York Times.
It describes how a Reuter photo-journalist has merged two pictures into one changing totally the perceived meaning of the moment. I suppose the journalist was hoping that creating a new more sensational picture he will be able to sell it more or for more – instead he got sacked!
In the past many journalists got caught cheating, for instance by making up statement from sources that did not exist. Today these people will get fired and sued. However a new breed of cheats came out with the advent of digital photography. As mentioned by the New York Times finding them out will be very difficult.
This really begs the question:
Will digital photography destroy photo-journalism?
Bookmark this post:
I have de-installed beta 1 and then reinstalled at the exact same place beta 3. All seems ok; my database of images is still there. It also maintained my layout mode (full screen : sweet).
I am now actively working on the review, it should be a week or 2 at most.
Bookmark this post:
Who wants to find out more about Adobe LightRoom?
Do you want prefer a plain review of what the tool is about?
Or do you want feedback on the quality of the beta?
Maybe both?
Please post a comment to let me know what you like to see in this forthcoming post!
Bookmark this post:
Having played with Adobe Lightroom for a week or so, I decided to share my findings with the community.
Keep in mind that I am a user of IMatch and RawShooter Essential so my views are partly biased.
Finally, this is not an introduction to Adobe Lightroom, it is merely feedback to the community on the product, this really would appeal to other beta testers.
I may write a proper review for the next release so keep posted and subsribe to the feed (see links section on the right side).
User Interface:
Adobe Lightroom is still definitely too slow at that point in time. It needs a lot of speeding up to become useable. The dev team is very likely of this as it feature in many posts on the forums.
For the purpose of my little test, I imported (just) 36 files - the computer CPU immediately max out for I thought was a very long time! About 20 minutes. For reference I run this on a 1.5 gig of ram 2.66 GHz PC.
The user interface of Adobe Lightroom is very neat but a bit unresponsive and also fiddly. Plus I have to use the full screen mode as quite a bit of space is wasted with the little arrow on the 4 sides. These arrows are used to hide or show the toolbars.
Sadly the full screen mode does not actually use the windows toolbar area even if toolbar is unlocked. It should use that space too if this is possible as space is a scare resource when you are editing pictures (basically the pictures should occupy as much space as possible).
One tiny regret with this lovely user interface is that I was not able to move the toolbars around at least up and down on each side so that I can order them per importance or as per my workflow.
The preferences window bizarrely hasn’t got a “apply”, “cancel” or “close” buttons. Maybe this ok on Mac but they are expected on Windows application. Also I find it strange that is located under edit, file would be more in line with windows practices (don't know about Mac)
Increasing/Decreasing should show the rating after change or just show the new value.
Also I would like to see a mark for delete flag and a way to display all delete pictures (collection?) Then I can review all the marked for delete and actually physically delete them.
Finally the user interface need a “To process” and “Processed” flags as I want to be able to see quickly the finished pictures. Filtering should include processed and not processed option (Collection again) so that I can select these quickly.
Loupe mode:
Unfortunately the Loupe mode does not display ratings. I think this is necessary addition. I would like to see the display settings to be either global (i.e. include loupe view) or better different per view.
I would like to see the picture settings (ISO, aperture, focal and exposure) based of course on view settings which could be different (or not) for the 4 modes.
Develop mode:
The controls aren't smooth enough (e.g. black). It needs to be more subtle. I think there is a general problem when grabbing the slider, depending on where you grad it, it moves left or right a little or a lot ... This is rather difficult to use. I suggest:
- One could have a very small slider which on one click would move to the mouse position at that time,
- Or a large one (like here) which you grad and move (i.e. click on it does not move to the mouse position).
We definitely need states or stacks to compare the effect of a change to the previous state (a la RS). I understand this is under consideration by Adobe and expected by the community.
I would also like a highlight/shadow contrast slider. I use that lot in RS to give a strong feel to the picture. However I am just exploring the curve tool.
I like the Tone curve. It takes some getting use too but I can see it being quite powerful and possibly faster than the curve in PS as you can smooth it up with just a slider (when they work better ;-))
The compare mode is fantastic. A tiny little nag, would it make sense to have the before button before the now button? Also, could we revert to the previous configuration by clicking again the same button?
On the main window can you display the zoom level at the bottom along side the RGB values and also display the picture settings (ISO, aperture, focal and exposure) based of course on view settings.
The crop tool is a bit slow but really impressive. I like the way the picture rotates instead of the crop frame. The crop tool could have a button like PS to black out the cropped area so to see better the effect of the crop.
Generally I like the idea of on/off buttons for tools (to compare the effect of a specific setting) like for grayscale. It could simply revert back to the previous history state.
I don't think the noise tools are sufficient. I hope you will integrate the rest of noise RS tools. Comparing RS to LR Hot pixel / Pattern noise suppression is the one I miss from RS. I also understand that there is better noise reduction engine out there opening up the tool for these engines would be good.
Can we have preset per tool available as a drop-down on each tool? Create and save would be good as well on the tool itself. That would basically create a preset just for this tool.
In RS we have contracts for highlight and shadows would that make sense to integrate it too? I have created some very dramatic picture of NY using these only these 2 sliders.
Library mode:
In compare mode, picture rating messages appears always at the bottom of the screen even if the selected picture is somewhere else. It would be clearer if it appeared at the bottom of the active picture.
Conclusion
It is looking like a great tool, still lots to do but really promising, I like the idea of putting together the main tools that a serious photographer need on a daily basis.
I am using today 3 tools, it is slow and cumbersome, having %80 of these tools in one would be a great benefit to me and other fellow photographer.
I hope that Adobe won’t charge the odds for it or better I hope that would make a free version available ala RS for the non professional user.
Bookmark this post:
First I would like to point you to my newly created photo gallery at: weiersmuller.org.This gallery shows mainly my pictures plus a few (but very good!) from my wife. Nothing fantastic but I am starting: constructive feedback welcome. However the important point for you valued reader is that I will use this gallery to illustrate my blog.
The gallery was built of one tool called IMatch a good all around DAM software (Digital Asset Management). You can create complicated categories in IMatch to organize your pictures in any ways you want: pretty powerful. I created a category for exporting to websites or CDs. My Photo Gallery is my first automated export to a website. This is done using the scripting feature of IMatch and more specifically the (Extended) Photo Gallery (credits to Ferdinand). It uses mainly JavaScript and html. Nice but a bit heavy on the client side.
I also use a tool called RawShooter Essential (sadly the technology has been acquired by Adobe, they are working a new ‘replacement’ product called LightRoom). This is lovely and simple application to convert raw files. Raw file are picture files that are created using the proprietary file format from the camera vendor (as opposed to jpeg and tiff). You can manipulate these files in ways you can’t do with the other regular formats that are jpeg and tiff - for example you can set the white balance. Of course this adds a further step in your workflow.
The last tool I use is the obvious PhotoShop. I suppose we all now what it does! I use actually very few features of that product: levels, curves, clone … As you can see this is not much (check out the complete feature list on the Adobe website). The new LightRoom product is supposed to be RawShooter plus some DAM and some PhotoShop. (don’t miss an article subscribe to my blog, see links section on the right side).
In case you have not guessed my workflow revolved around these 3 tools. In short, I import the pictures in IMatch, here they go RawShooter and finally a bit of PhotoShop to finish the magic et voila!
That is it for my introduction blog, I hope this has been useful and I hope to see you back soon.
Bookmark this post:
In that new blog, I should post about one of my favourite hobbies which is photography (I pass on the other one: DIY). I am no professional however I am not a debutant anymore therefore I expect my post to be valuable to debutant or amateur photographers. I also expect you dear reader to provide me constructive feedback on my photography as I am always keen to learn and improve.
Bookmark this post: